How Tote Bags Help Reduce Plastic Waste
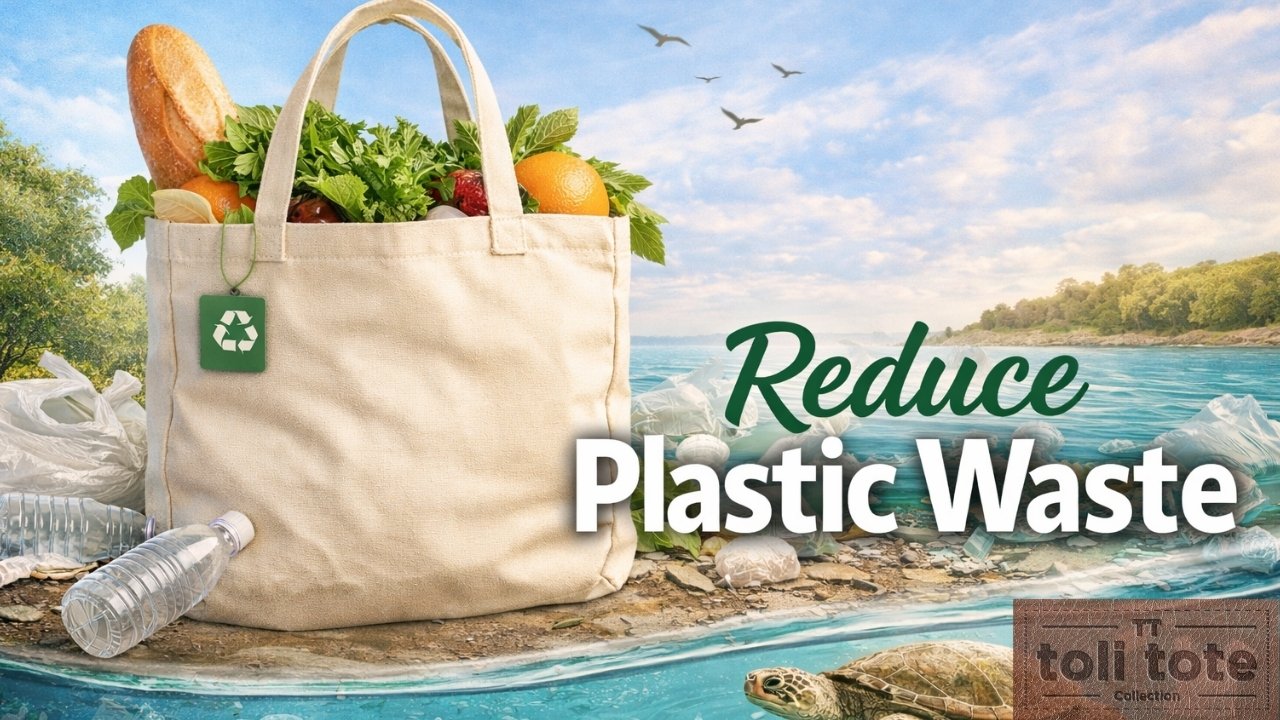
Plastic waste has quietly become one of the biggest environmental problems of our time. From shopping bags to food packaging,
Plastic waste has quietly become one of the biggest environmental problems of our time. From shopping bags to food packaging,

Yes, canvas tote bags are still very much in style in 2026. They remain popular because they combine sustainability, everyday